Category: Bots

Arduino Talk & Workshop Berlin – Proposal / Info

By , April 28, 2010 17:15

Who is interested to join the next Arduino talk & workshop in Berlin F’Hain?- please comment or mail

Workshop Info

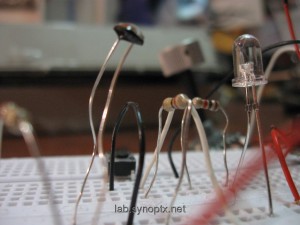
Sensor forest on a breadboard

Sensor forest on a breadboard

Hardware Hacking -DiY- Faderboxes & Robots — Introduction to Hardware <-> Software Interaction

This introduction is intended for anyone interested in (easy) electronics hardware and (mostly easy) software coding. Artists / *Designers & Hackers of all kinds are invited to join the FREE sessions in Berlin Friedrichshain.

We will introduce the Arduino plattform and show some practical examples. Basics of electronics and some interesting components will be explained shortly, but there are no tricky mechanical works and no soldering and not so complicated electro-technically theories involved.

We will focus on software programming inside the Arduino editor to show how to read analog values from various sensors and output to LEDs and servo motors.

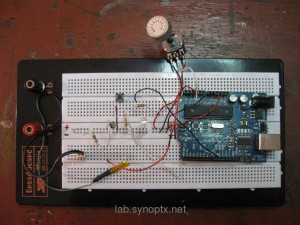
Big breadboard, many sensors + Arduino

Big breadboard, many sensors + Arduino

To get some interesting visual results, we will use Processing to display incoming values from sensors in various,graphical ways.

After the lesson, you should have an idea how to design & build your own simple robots (servo motors…) or sensoric controllers (MIDI / OSC faderboxes,..). We can focus on special topics (maybe MIDI Controllers) in a follow up workshop.

Synoptx Crew organizes all material, tools and a nice location.

BYO laptop and Arduino or contact us to join a collective order of electronic parts!

MirrorBot v3 – moving projections @ Suchtfaktor Party

By , March 13, 2010 18:41
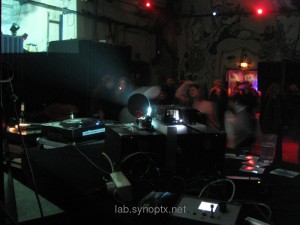
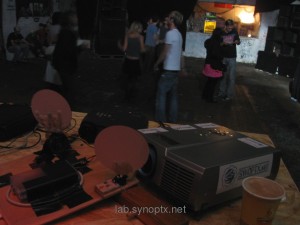
Flash! People on the dancefloor - Mirror Station besides the DJ and the controller box in front

Flash! People on the dancefloor - Mirror Station besides the DJ and the controller box in front

Headsquatter VJ crew used the new version of the moving-projections-robot in MIKZ club in Berlin Friedrichshain @

Suchtfaktor Party 6.3.2010

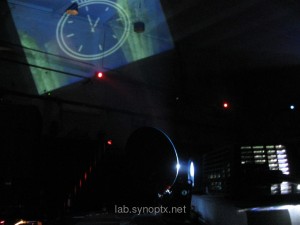
Mirror Station in front of a beamer  and projection on the wall

Mirror Station directing the beamer projection on wall and roof

to create a visuals show with a moving projection.

The  2D (X+Y axis)  mirror-station was mounted in front of a 2500 ANSI lumen beamer – this was strong enough to produce very clear and big projections everywhere in the dancehall.

Two servo motors are driving one mirror in X- *and* Y- axis. The projection can be moved across the walls by a joystick or with automatic pattern programs, synced on beat of the music.

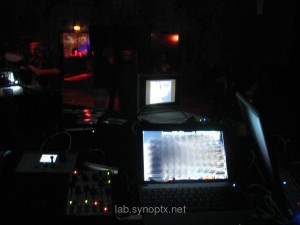
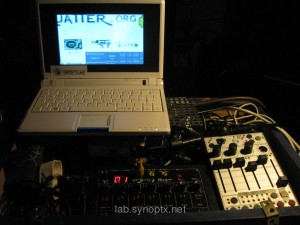
VJ desk: 2 video notebooks, 1 video-mixer, eeePC 701 preview screen, midi controller and mirrorbot controller

VJ desk: 2 video notebooks, 1 video-mixer, eeePC 701 preview screen, midi controller and mirrorbot controller

30° in vertical Y axis are enough to reach almost any point on the ceiling. Combined with more than 120° on the horizontal axis, it can project on any point on 3 of the walls.

Many guests on the dancefloor were surprised by the projections suddenly appearing and disappearing and when they discovered the mirror-station, they showed it to others. Some people came on stage to the VJ desk to ask how the moving projection works and some more came up to say that they liked the visuals show 🙂

It was fun to “play” the robot just like an instrument with the joysticks. When the positioning button is pressed on beat – matching to the rhythm – the projection is “dancing” across the room!

MirrorBot V3.0 : Robot Autonomie!

By , February 13, 2010 01:23

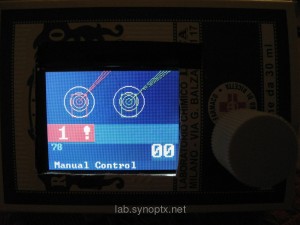
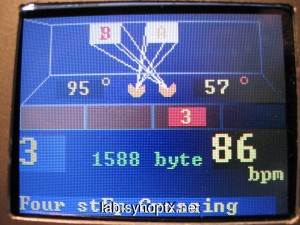
MirrorBot GUI 3.0 on s65 shield

Finally there is no need for a computer control screen anymore: the S65-Shield rocks!  🙂

Display Code

This display is fast enough, graphical!!, colorful, just big enough and easy to program,for many tasks, where you normally would need a big (pc) screen and ‘real’ software.
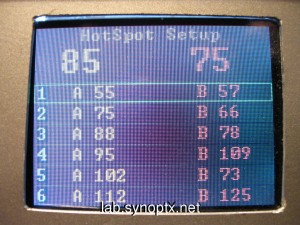
Hotspots Setup Screen

Hotspots Setup Screen

So I started to code an Arduino patch for a mirror bot interface. After some nightly sessions it includes:

  • “projection display” – showing the current angle of 2 mirrors and the resulting projection (just some lines and rectangles
  • animated BPM  “beat-bar” showing current step
  • current BPM
  • current program name and description

At first, it was difficult to overwrite the previous drawings: if too many lines are drawn at once, it does not work. After some timing tests, I found a working code to redraw all elements without flickering.
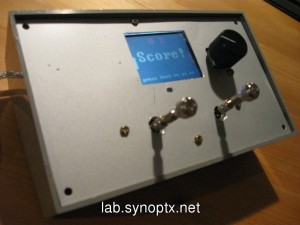
Autonomous MirrorControl Box

Autonomous MirrorControl Box

One trick is to redraw as few pixels as necessary and another is to reduce the updates to only draw something (over) when its really necessary (something changed).

Servo Control Integration

Then I integrated this LCD animation code into the servo control loops and programs. One control loop runs every 200ms to check the input potis. The display animation update is also triggered in that loop.

Another loop runs according to the current BPM and triggers the selected servo move program which moves the servos on beat.
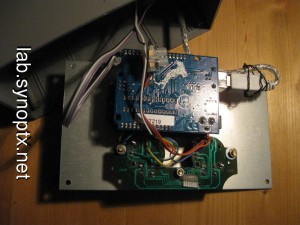
Open Case - Arduino + s65 shield + joystick board

Open Case - Arduino + s65 shield and joystick board

In manual mode the servos are directly moved in the control loop. Servos do not position soo fast and accurate, so it needs some ms to ‘drive’ there, but it is fast enough for most effects. 50-100ms refresh works good and gives a direct response feeling. Next I’m looking for joysticks, which keep the position, because these jump back to the middle and that’s  disturbing in manual mode…
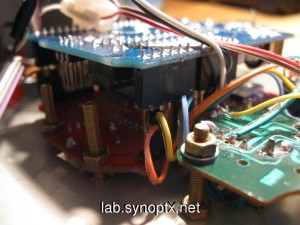
Connections on the shields pins

Connections on the shields pins

Unfortunately the 4 Arduino analog input pins, which are left free by the S65 shield, are already used up by the four joystick axis.:

S65 Shield Pins Schematics Image

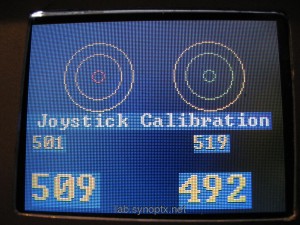
Hotspots Setup

The Duemillanove still had a lot of RAM -1500byte- and 1/2 code memory free, so I started to hack a setup screen for the hotspot variables of two ServoMirrors into it.

Now the box can be configured for each location live ‘on the fly’ without re-programming by a computer. With the joysticks you can select nice spots in the room and press the encoder to save the value. Currently the values are simply stored into global varaibles. Next step is to save these values to SD card or EEProm..
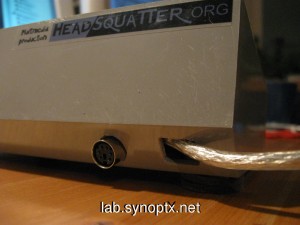
PS2 to servos and some work todo..

PS2 to servos and some work todo..

It was easy to write this interface with the S65 library. Simply loop over the variables and draw the text. Draw a box around the selected row and change the selected on encoder turn. Now the box needs some more buttons…

Case

This case was a -fast & furious- test to create at alu-front at home office. Not only that many tools are required, you also need a stand for a drill and equimpment for fixiation to get the metal works really exact. Its not that bad, but it takes long to calculate, drill and saw all holes. You will not get it done without some scratches and unstraight edges, if you dont have a professional workplace.. We are looking for some CNC guys next .. 😉
PONGuino – Arduino & S65 Shield – 2 Player MiniGame

By , February 12, 2010 19:36
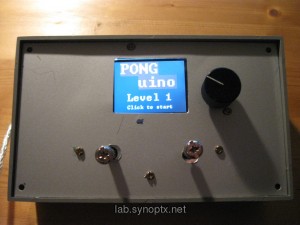
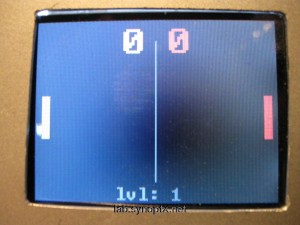
PONGuino game on the MirrorBot v3 Hardware

PONGuino game on the MirrorBot v3 Hardware

I wanted a playable game to show the possibilities of the Arduino plattform in  workshops. Since I already have a S65-Shield built in a box with two joysticks, I wanted to use that MirrorBot hardware for presentation.

The most funny code I could find for the S65 Shield was a Pong game by

www.codetorment.com

This mod uses one axis of two joysticks – or two potis connected to input pins to move the two bats of the two players up and down.

The AI and encoder codes were removed and replaced by a similar check:

PONGuino 2 players in action

PONGuino 2 players in action

If the joystick potis are moved up or down, they decrease or increase the y position value of the matching bat.

If you have a s65 shield and would like to run this code, you could connect two potis to input pins (e.g. 0,1) and try those. Thes bats ‘should’ move, if you move the pots out of the center position.

I included a veeery simple level system:

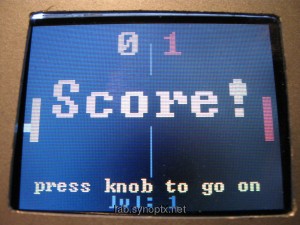
PONGuino someone got a point +

PONGuino someone got a point +

After each round a level int variable gets increased. This level var decreases a delay() (starting at 10 ms)  in the main loop  -that way, so the game gets faster, the more rounds you play ( 5 times).

🙂

….

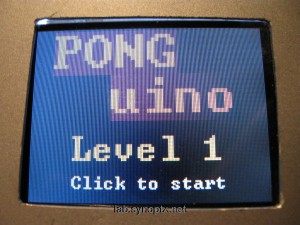
PONGuino mini-game intro screen

PONGuino game intro screen

Continue reading 'PONGuino – Arduino & S65 Shield – 2 Player MiniGame'»

Arduino Workshop in Berlin

comments Comments Off on Arduino Workshop in Berlin
By , February 8, 2010 01:50
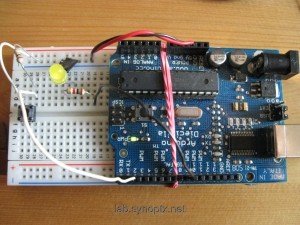
breadboard with Arduino backpack

prototyping breadboard with Arduino backpack

On 28.1.2010 we had our first workshop to introduce the Arduino Microcontroller plattform in Berlin, FHain.

The session took place in Sama32 cafe and there were ~10 nerds, who were interested in micro-controllers and electronics. We presented some hardware and sketches and introduced the connection from arduino inputs to processing sketches.

Thanx to Todbot for the possibility to use his excellent slides!

Who is interested to join the next workshop?

Workshop Info

Shields up! Grafix & Color LCD Fun .: S65-Shield

By , January 8, 2010 22:41
S65 Shield italian nosespray pappcarton prototype

S65 Shield italian nosespray pappcarton prototype

We ordered a S65 Arduino shield from Watterott.com.

Simply plug it on a Arduino and play with  a 176 x 132 pixels color display from a Siemens S65 handy, micro SD card slot and rotary encoder.

There is a library on the Watterott website, which contains some graphic functions to paint on the screen, just like in many other languages. This is enough to create small games, animations and GUIs  in full color.

The refresh rate is not soo high, but its fast enough to paint moving objects and interactive animations. The painted pixels stay as they are until something else is drawn over – they do not need to be refreshed.

Testing to paint circles + lines and text on the s65 shield

Testing to paint circles + lines and text

Instead, the screen must be completely cleared before redraw, which is veeeery slow or parts of the screen must be painted over with the background color.

After some experiments, I call the painting functions two times: 1. with the background-color – to overwrite exactly the previously painted lines with the background color, before re-painting moved objects. This approach works fast and the refresh is invisible.

Joypads –> Arduino

comments Comments Off on Joypads –> Arduino
By , January 2, 2010 18:25

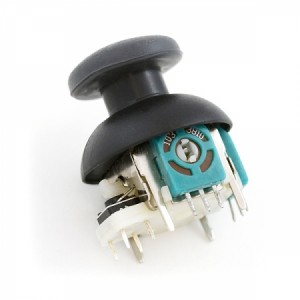
New Thumbstick

Do you have an old analog PS1 / 2 controller or a PC joypad? Or an used joystick with the old soundcard connector?

They work great as inputs for an Arduino! In fact, they are just two potentiometers, mounted on two axis.

When you open the case, you probably will find the potis mounted on a board, which includes all necessary connections. If you are lucky, you can use the existing cables on that board:

  • 2 outer pins of each poti are connected to + and – 5V
  • center pin changes voltage, depending on poti- resistance / position

Simply connect the power circuit to Arduino +/- voltage pins and the center pin to one analog input and analogRead() will read the values almost like a poti:

  • center position:  ~ 500
  • full down:  ~0
  • full up:  ~1023

The potis are often not so accurat, but you can easily implement some tolerance in software,

if the values are too much shaking

Code:

int potPinX = 1;
int potPinY = 2;
 
int valueX = 0;
int valueY = 0;
 
void setup() {
  Serial.begin(9600);          //  setup serial
}
 
void loop() {
 
  valueX = analogRead(potPinX);
  valueY = analogRead(potPinY);
  Serial.println(valueX);
  Serial.println(valueY);
}

.. and you have the X /Y axis values stored in variables.
+ output to serial console via USB for debugging.

Software Remote Control – Python GTk Servo Control

comments Comments Off on Software Remote Control – Python GTk Servo Control
By , November 28, 2008 01:03

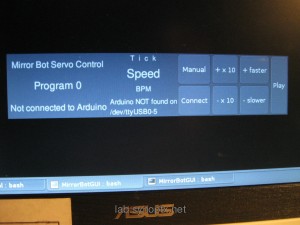
MirrorBotGUI Servo Control Software

ServoControl - Transparent window, no decorations in python GTK / KDE

ServoControl - Transparent window, no decorations

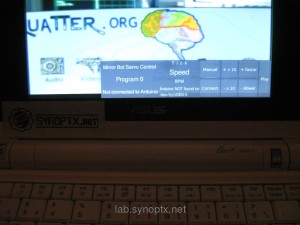
The software interface  is a gtk-python program, which controls the movements by keyboard and graphical user interface.

We use this during live visual performances on a Asus EEE netbook, which is also running as a preview screen for the video mixer output.

There are 9 automatic programs to move the projections in different patterns across the wall.

9 automatic, BPM syncronized mirror movent programs

Servo Control GUI live visuals action on eeePC 701

Servo Control GUI live visuals action on eeePC 701

Program Types:

  • Scanner – up down movements in 5° or 10° steps, crossover and following
  • Hotspots jumping: various pattern between the 2x 6 hotspots: crossover and following,..

The intervals of the movements can be changed to match to the beat of the music in BPM. In manual mode, the mirrors can be moved directly by knobs, – so it can be used just as a live instrument.

This program is focused all the time and receives keyboard inputs. Often we move the buttons out of the screen to see only the display with interesting values (current mirror positions, program,BPM) of the bots.

Video Mixers + eeePC: -preview -ServoControl

Video Mixers + eeePC: -preview -ServoControl

The keyboard inputs are sent to the Arduino practically directly over serial by the python GUI. Button click events in the interface also send one char over serial line.

The standard Arduino firmware is limited: it can only receive one char at a time, so for receiving a string of multiple letters you need to implement a loop and wait for a terminating string. For this reason the  first version of this software could sent only “+” and “-” to change the speed, but not a complete new value (like “180” BPM) 🙂

Keyboard Shortcuts:

Servo Control GUI on eeePC in live VJ bpx

Servo Control GUI on eeePC in live VJ bpx

  • 0-9 : select program
  • “s” : start / stop
  • + : faster (+1 BPM)
  • – : slower(-1 BPM)
  • x : manual mode on/off

The python GUI  also reveives strings over serial from the Arduino and extracts the interesting values to display and then refreshs the text fields.

The data format sent by the Arduino is very short and simple, because the serial line is just fast enough to transfer:

  • short program descriptions (20 chars) – on program change events
  • current speed – every 100-200ms
  • beat tick – on timeout

Sending longer strings blocks the Arduino and it will not respond to serial input or loose some commands.

Luckily sending and receiving contemporary works just fast enough  and also python/Gtk handles input and output easily without threading.

btw: do not use to many (long) strings in Arduino or the RAM and flash memory is full soon, but its not that bad (specially with the 328) – this software, uses less than half the flash memory and ca. 1/4 of the RAM. (must check..)

MirrorBot Hardware Interface — Version 2

comments Comments Off on MirrorBot Hardware Interface — Version 2
By , November 25, 2008 05:52
MirrorBot v2 + hardware control knobs

MirrorBot v2 + hardware control knobs

This version is enhanced by real hardware inputs:

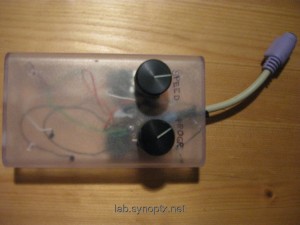
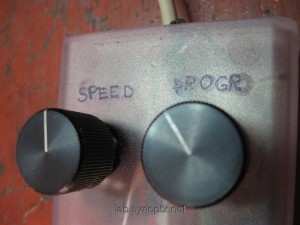
2 potentiometer knobs control speed (movement interval) and current program.

Additionally Program 0 adds a special manual mode to control the servo positions directly with the knobs.

Now the system is really useful as Live instrument, because you can inter-act directly with the music and change the posistions or programs matching to breaks and changes  in the music.

An old PS/2 keyboard cable was used to connect the mirror “stations” to the controller box.

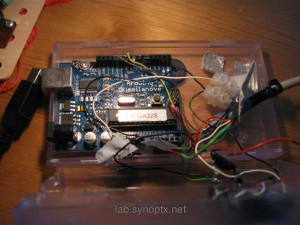
Arduino in a box + knobs + external power for servos

Arduino in a box + knobs + external power for servos

The cable length can be increased by plugging more PS/2 cables between – they are/were common for KVM monitor/keyboard switches.

Now the mirrors and beamers can be placed far away from the “remote” controller box, which can also run autonomously without computer connection and just an external powerplug.

For live visuals, we still use the software interface to display the current values like angles, speed and program settings,

but the knobs as a real hardware interface ‘feel’ much better than keyboard presses on a netbook 🙂

MirrotBot V2 - Speed + Prog Knobs

MirrotBot V2 - Speed + Prog Knobs

MirrorBot Moving Projections System

comments Comments Off on MirrorBot Moving Projections System
By , June 8, 2008 05:23

Mirror Bots .: moving visuals projections – standalone & Linux GUI controller

This is a robotic system to move VJmix projections all over the walls.

Video: MirrotBot in Action Köpi, Berlin 11.2008YouTube Preview Image

Beamer projection reflection on mirror

Beamer projection reflection on mirror

Mirrors are mounted on servo motors to rotate them in front of dia projectors or beamers. This way, the projections are moved across the walls and the ceiling of the room.

A microcontroller system, connected to a netbook, is used to control the mirror-servo-unit movements.

“Hotspots” are defined to project on the best spots on the walls of the location and create an impressive light show of moving rays and projections on all walls and screens.

1.prototype live action with diaprojector & beamer

1.prototype live action with diaprojector & beamer

This system can be installed in rooms of any size.

It is required to use projection glass or there are double projections and very unsharpened results. The beamers must be powerful to show bright images also on the must distant walls. In big rooms, the projections are really big, so the 2 video mixes can work together as moving textures or moving characters.

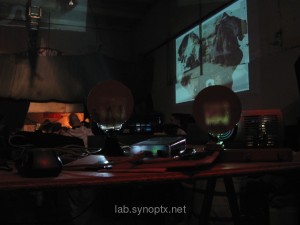
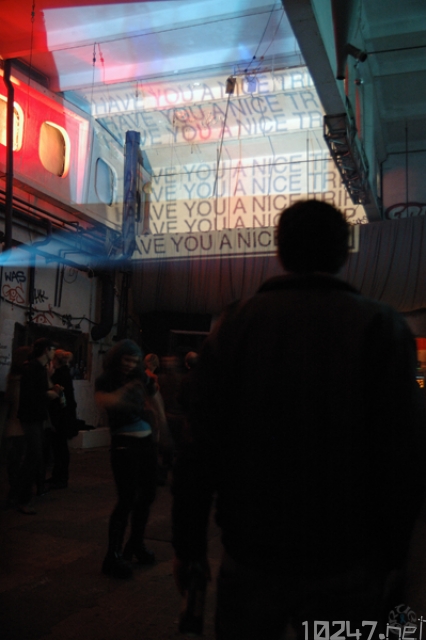
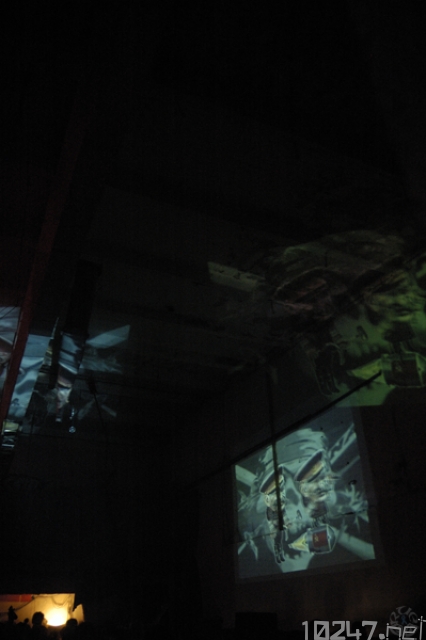
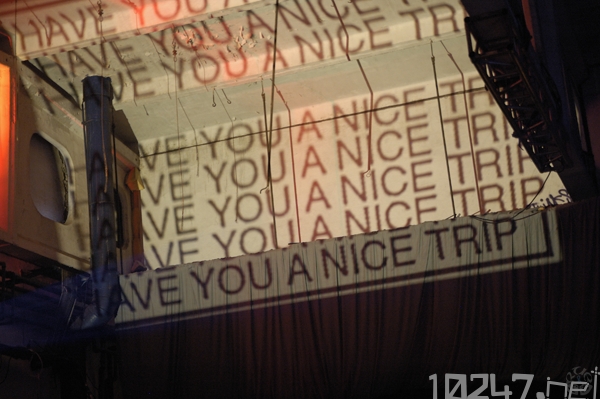
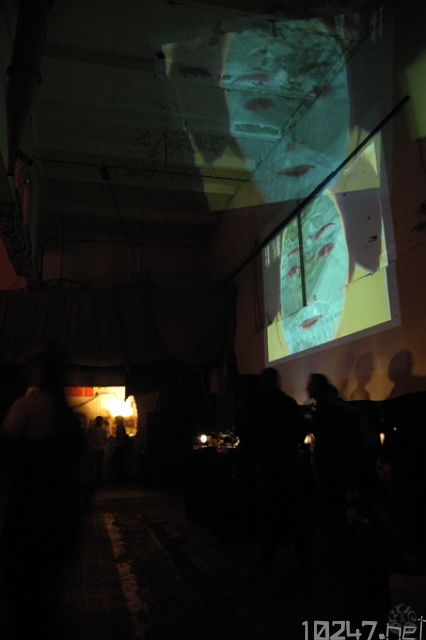
The proof-of-concept system was first used by Headsquatter Live Visuals in Berlin @MIKZ – Suchtfaktor – 27.09.2008 with great success and continuously enhanced and tested live.

Hardware

We use a common, programmable input/output hardware controller to trigger motors: Arduino Dicemilia.

1.prototype live action - only left dia visible

1.prototype live action -- only left dia is mirrored

Two Mirrors are mounted on  servos to move them in front of two video beamers. This first version can move 2 projections with 2 mirrors on one horizontal axis between 40° and 130° – ca.  It  creates distorted projections depending on the current angle, but works very well with various kinds of video mixes. High contrast images and vectorial animations work specially good. By positioning two projections besides each other there appear many interesting possibilities.

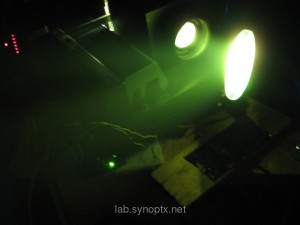
Combined with fog machines the rays become visible and the moving beams look like a laser show with real videos.

The servo-mirror movements are synchronized to the beat of the music and many programs can be selected, to move the projections in various patterns.

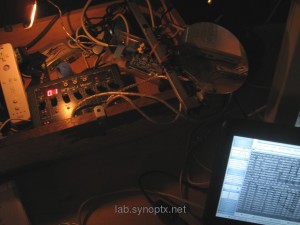
VJ Live Mix Box: Wiimote - VJ mixer - Arduino Servo Control - Mirror (+ eeePC :) ) - Linux Netbook

VJ Live Mix Box: Wiimote - VJ mixer - Arduino Servo Control - Mirror (+ eeePC 🙂 ) - Linux Netbook

Software

This MirrorBot is controlled by a linux netbook over serial console via USB cable. The prototype is remote-controlled  by a simple software command line. Various keyboard key presses change program, speed, play/pause mode of the attached servo control box. This works quite good during live visuals mixes, with a mini terminal window in front of a TVtime preview screen of the video mixer.

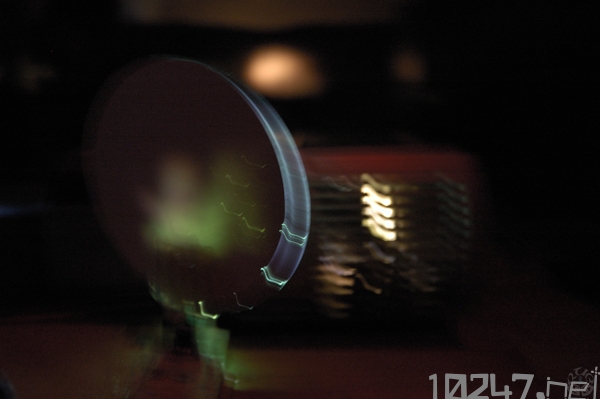
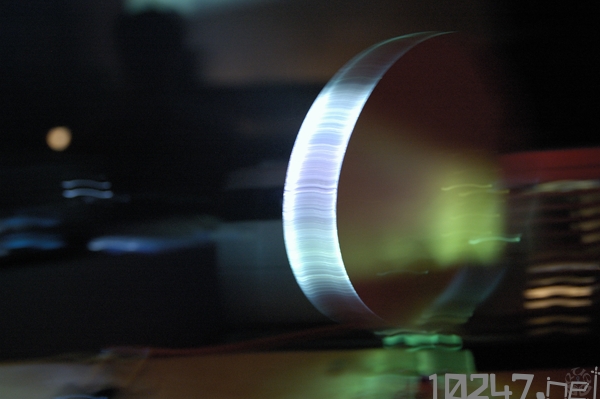
Pictures by Rue23 in MIKZ 27.09.2008 – Suchtfaktor Party ::


more Pix @ 10247.net Logo

Multi projections

Multi projections

Multi projections

Multi projections

Multi projections

Multi projections

WordPress Open Source Blog System
SynOptX Lab Theme