
Here is a video about the PONGuino game for 2 players on a minicomputer with mobile-phone display and joysticks.
The box contains an Arduino 2009, a S65-LCD Shield and a gamepad from an old playstation 1. It runs autonomous on 9V battery.
The device is originally built for the “Mirrorbot” moving projection system [ lab.synoptx.net/mirrorbot ], but the pong-game-code from www.codetorment.com was perfect to test the LCD and – really – it’s fun to play!
The system is just fast enough to play a game, but you have to take care, how many pixels and how fast you draw. There is no double buffering and just a serial line between arduino and screen……
Sorry for the low quality photo-cam recording.
The LCD is not bad in reality: You don’t see the pixels and the scratches are only on a transparent folie..
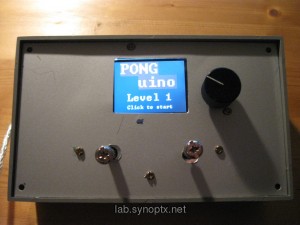
PONGuino game on the MirrorBot v3 Hardware
I wanted a playable game to show the possibilities of the Arduino plattform in workshops. Since I already have a S65-Shield built in a box with two joysticks, I wanted to use that MirrorBot hardware for presentation.
The most funny code I could find for the S65 Shield was a Pong game by
www.codetorment.com
This mod uses one axis of two joysticks – or two potis connected to input pins to move the two bats of the two players up and down.
The AI and encoder codes were removed and replaced by a similar check:
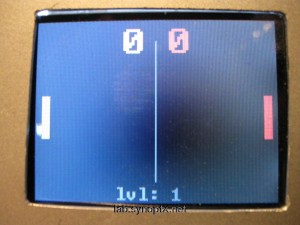
PONGuino 2 players in action
If the joystick potis are moved up or down, they decrease or increase the y position value of the matching bat.
If you have a s65 shield and would like to run this code, you could connect two potis to input pins (e.g. 0,1) and try those. Thes bats ‘should’ move, if you move the pots out of the center position.
I included a veeery simple level system:
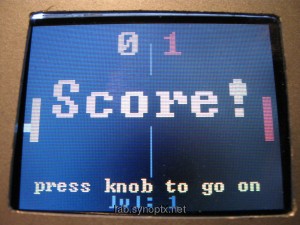
PONGuino someone got a point +
After each round a level int variable gets increased. This level var decreases a delay() (starting at 10 ms) in the main loop -that way, so the game gets faster, the more rounds you play ( 5 times).
🙂
….
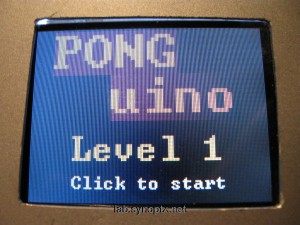
PONGuino game intro screen
Continue reading 'PONGuino – Arduino & S65 Shield – 2 Player MiniGame'»
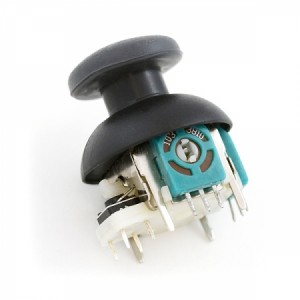
New Thumbstick
Do you have an old analog PS1 / 2 controller or a PC joypad? Or an used joystick with the old soundcard connector?
They work great as inputs for an Arduino! In fact, they are just two potentiometers, mounted on two axis.
When you open the case, you probably will find the potis mounted on a board, which includes all necessary connections. If you are lucky, you can use the existing cables on that board:
- 2 outer pins of each poti are connected to + and – 5V
- center pin changes voltage, depending on poti- resistance / position
Simply connect the power circuit to Arduino +/- voltage pins and the center pin to one analog input and analogRead() will read the values almost like a poti:
- center position: ~ 500
- full down: ~0
- full up: ~1023
The potis are often not so accurat, but you can easily implement some tolerance in software,
if the values are too much shaking
Code:
int potPinX = 1;
int potPinY = 2;

int valueX = 0;
int valueY = 0;

void setup() {
  Serial.begin(9600);          //  setup serial
}

void loop() {

  valueX = analogRead(potPinX);
  valueY = analogRead(potPinY);
  Serial.println(valueX);
  Serial.println(valueY);
}
.. and you have the X /Y axis values stored in variables.
+ output to serial console via USB for debugging.


